 In the almost 7 years I have had my Cerbera, I have experimented with different methods of hooking the car up to a trickle-charger.
I’ve had my same Accumate charger all this time, it works just fine – but what I’ve always struggled with is how best to connect the cable to the car.
You want it easily accessible, easy to attach, easy to remove.
You don’t want to trip over it when it’s connected.
Ideally you want it invisible when out and about.
It must be protected from the elements, you don’t want anything shorting out.
And if you drive off with it connected, you want it to detach without damage.
Iteration 1
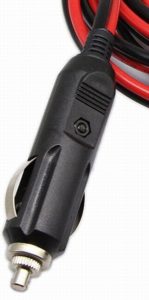 In the first year or so of ownership, I plugged into the cigar-lighter socket; the wires trailed along the seat, out the window and across to the wall mounted charger.
While it worked, it was a pain to have to get out the car when parked in the garage, only to then get back in to plug it in.
I also found that after a while the cable started to leave dents in the window rubbers. Fearful that they might turn into splits in the rubber, and tired of the extra yoga moves.. I figured there had to be a better solution.
Iteration 2
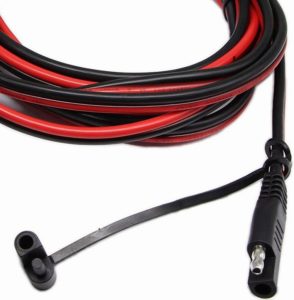 For the last 5 years or so, I’ve attached to one of these SAE connectors.
I ran a lead from the battery, fed it through the “vent” in the scuttle panel and zip-tied it to the passenger side wiper-tube. It wasn’t a very elegant solution, but it was almost invisible as you could mostly tuck it away from sight when not connected.
However, if you don’t build enough slack in, in can restrict the wiper movement- and whenever removing the scuttle panel (service etc), the whole thing had to be re-zip-tied.
Driving off while connected (while I avoided ever doing this), I imagine it would be messy.
BUT, it was more convenient, and no more extra yoga moves getting in and out of the car.
It did niggle me though. There had to be a better solution.
Iteration 3
Some months ago, I stumbled upon the Magcode system. A magnetically attached cable that looked discreet.
but anyone who has followed this same path as me will know the challenge is where to mount it
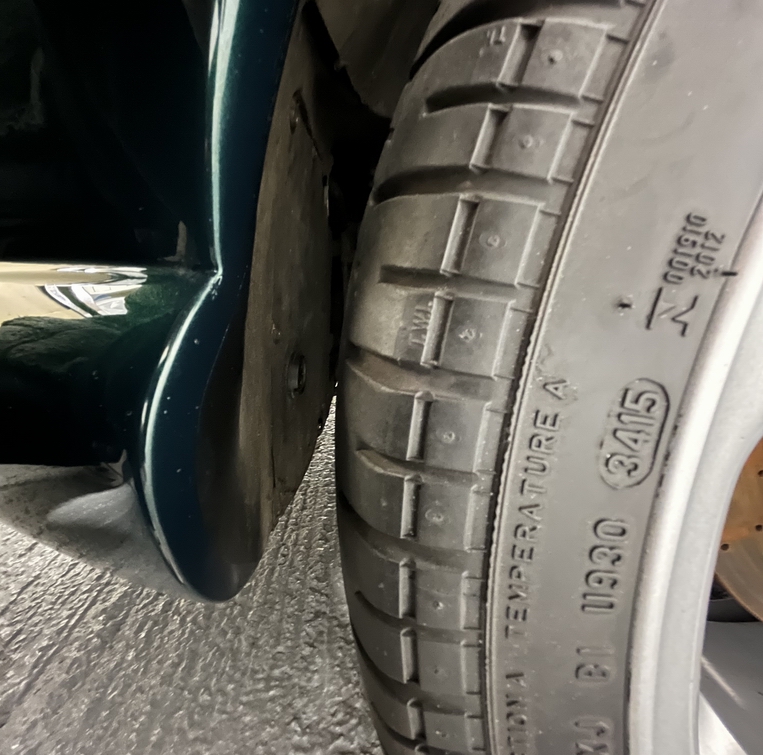
So I slept on it, until the other day when I was cleaning the wheels..
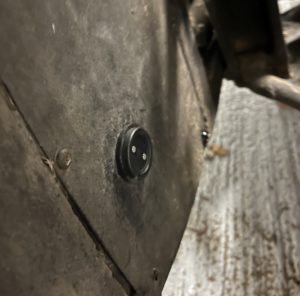
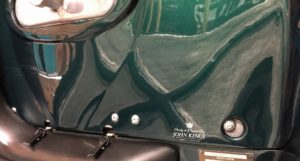
can you see it? No, and that’s the point, that’s what I was after. The image on the right has a floodlight on it
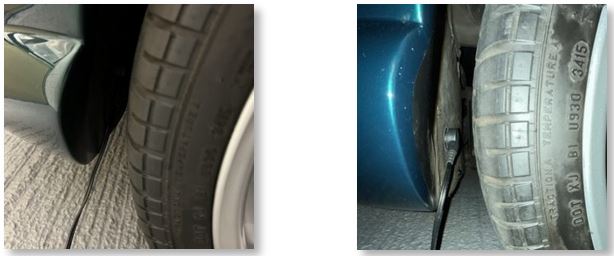
Here’s a close-up of the wheel-arch with the wheel removed.
 During my research of where best to mount this, I came across all sorts of options. These Magcode chargers are becoming standard fitment for Astons, Ferrari etc, and usually they get mounted in grills or bodywork.
I did not want to go cutting into anything green.
What you are looking at is the inspection panel that is used to access the AC drier. A thin piece of what feels like cardboard, but is actually GRP. It’s pretty manky, and the perfect candidate to house a discrete charge-point.
Even with a camera flash, you can barely see it.
What is the Magcode system
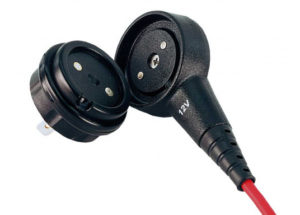 Well, it’s magnetic (obviously), but in a couple of ways.
Firstly as you bring one end of it to meet it’s partner, it will snap into place. And once connected, the magnets move the contacts, making them live. In other words, when not connected, they are not live.
IP65 rated, so waterproof, dust-proof etc.
The piece you see on the wheel-arch liner/inspection cover measures only 10mm deep, and 38mm wide.
Fitting
- remove passenger wheel
- remove inspection panel
- make a 28mm hole in inspection panel
- attach magcode receptor
- remove scuttle panel
- remove engine bay panel (above)
- Feed cable through grommet that removing engine panel exposed
- attach cable to an inline 15a fuse then to battery
The cable will sit nicely on the ledge under where the engine bay panel sits.
Easy to attach/remove, discrete, waterproof, no wires showing. And if you drive off and forget it’s connected, it will just ping off.
A point worth noting. I spent a long time getting the placement right. The gap between the tyre and wheel arch is not big enough to get your whole hand in, so while it was tempting to bring it forward – I didn’t want it to be visible. Luckily the magcode cable-end is quite rigid, and being magnetic only needs vaguely feeding in the general direction of where it needs to attach, and it finds its home easily every time.
If you have shovel hands, you may need to experiment with location!
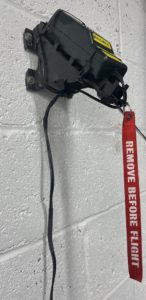
Update: September, 2023
So the trickle charger has been working fine, and the Magcode method of connecting it, also fine.. except earlier this week, when like an idiot I reversed out of the garage with it still connected. I thought I had planned for this, expecting it to ping off from the magnet- but alas not. Maybe it was the angle of the cable.. anyway, luckily no serious damage done, just a frayed cable. But it won’t happen again…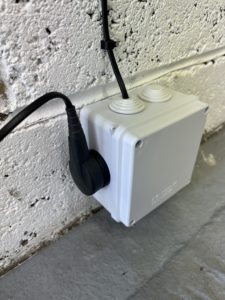 V2.0 of my setup now includes a 2nd Magcode connector. Instead of the cable simply being directly connected to the trickle charger, it now connects via a small box on the floor. This way, if a sleepy me drives away again without disconnecting it, it will pull away from the magnet.
That’s a lovely neat system and install.
Thanks Philip!
Thanks
Agree with all the above very neat and tidy.